The Ultimate Guide to Installing a Water Ionizer
Published by Alkaline Water Plus
The Ultimate Guide to Installing a Water Ionizer
The most prudent step before purchasing a water ionizer is to research the various installation options available. You can save a significant amount of time and money by reading these tried-and-true, absolute best water ionizer installation methods. Scroll to the bottom to watch the accompanying podcast, too.
Installing a water ionizer fits into three main categories.
1. Countertop Installation with Faucet Diverter:
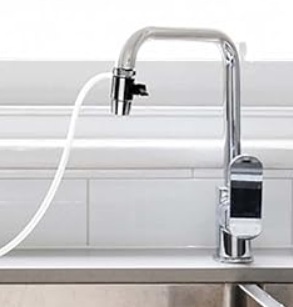
The most common and straightforward method for installing a countertop water ionizer is to connect it to a diverter attached to your kitchen faucet.
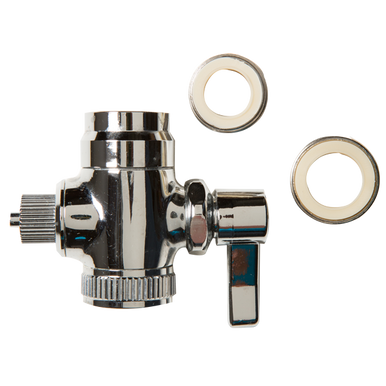
Standard Diverter: Most people use the standard diverter that comes with the water ionizer. This diverter comes with two adapter pieces, enabling it to fit most standard faucets by removing the aerator and screwing it into that spot. More adapter pieces are available for purchase if your faucet design is incompatible with the standard setup.
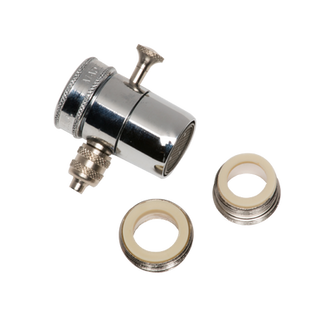
[Note: There is another kind of standard diverter that's a pull-type. A pull-type diverter is slightly smaller than the lever-style, so it doesn't protrude as much below the bottom of the aerator hook-ups of sprayer faucets. The pull-type diverter would need to be purchased separately.]
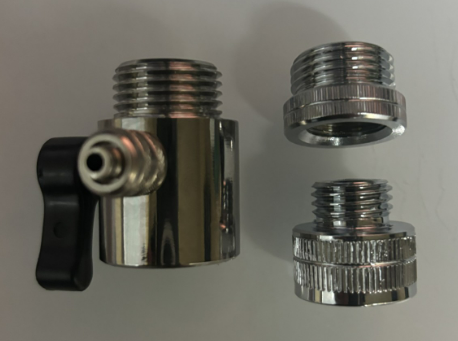
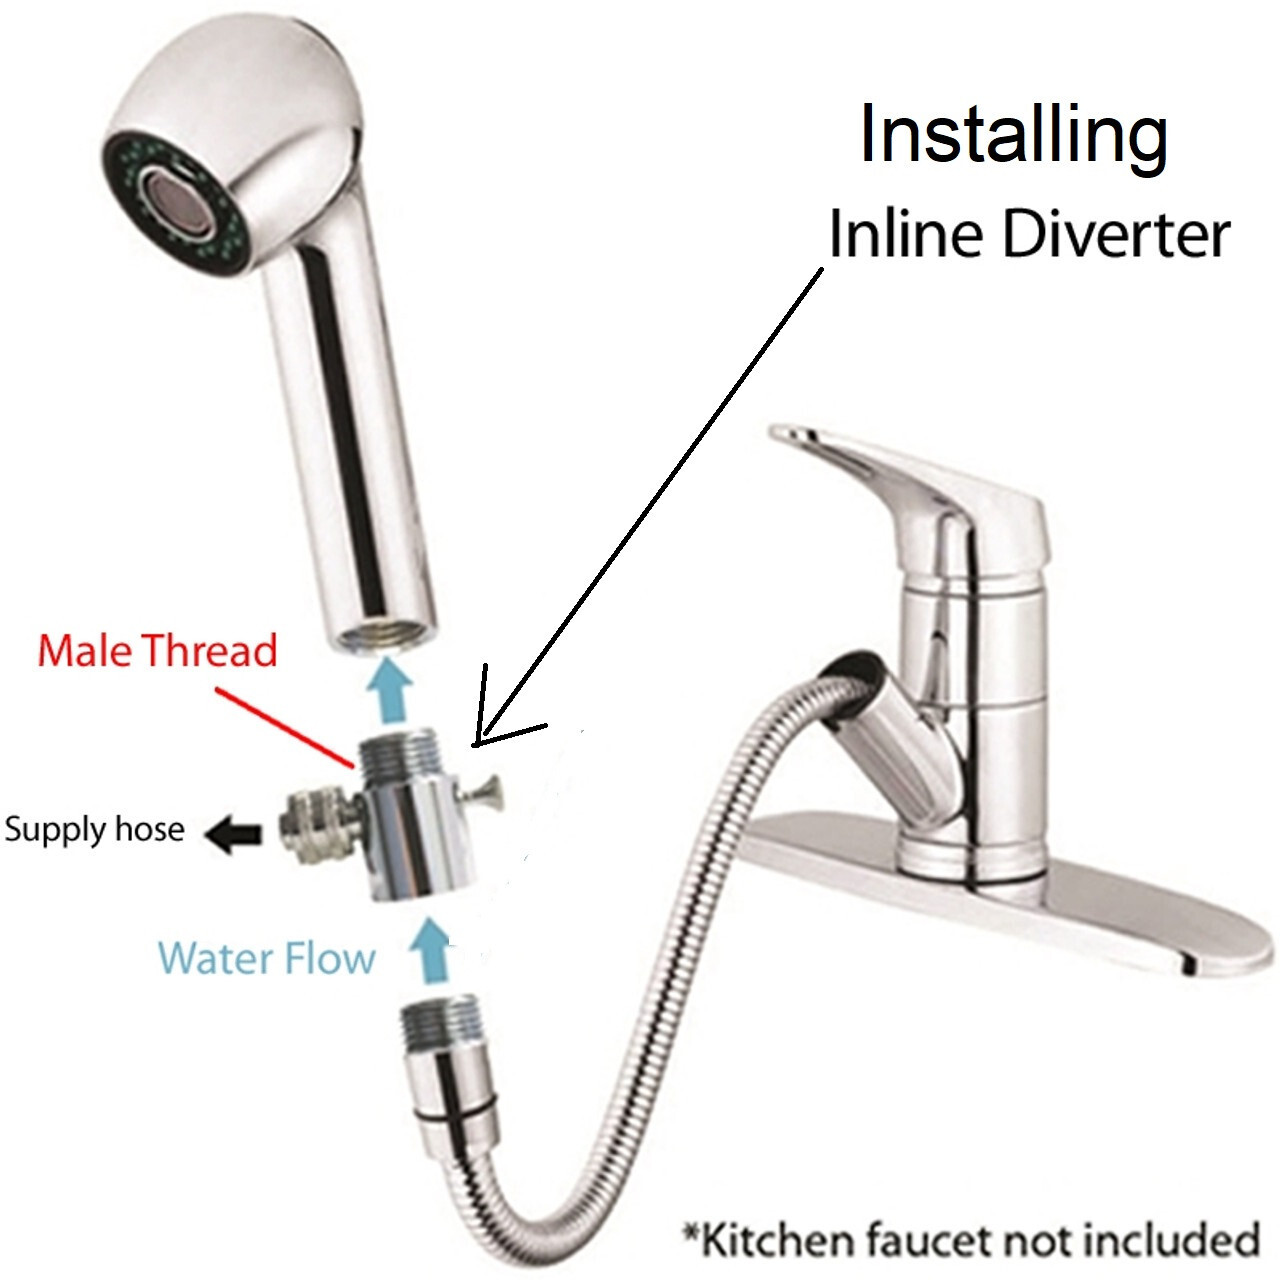
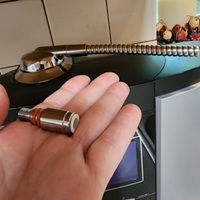
Specialty Diverter: With some pull-out spray-style faucets, you may need to purchase a specialty diverter. This diverter doesn't insert into the aerator, extending past the base of the faucet. Instead, it fits at the base of the sprayer, hooking it to the pull cable. The specialty diverter features male/female threaded 1/2" openings. However if you need to accommodate a 3/8" connection, adapter pieces are available for purchase. For this specialty diverter to work, your faucet sprayer needs to have a removable connection to the cable (flexible hose line). Measure the connection point (between the sprayer and the cable) wherever the two connect, and determine if it's compatible with one of these sizes.
2. Countertop Ionizer Directly Plumbed to Cold Water Line:
Many homeowners find the countertop installation method to be the most convenient. This is my preferred way to install a water ionizer because, first of all, I prefer the water ionizer on the counter, but secondly, the hose is more out of sight and out of the way this way.
Be cautious of the manufacturer's recommendations for this type of installation, as a water ionizer kept under constant pressure may develop a leak if the water cell is not strong enough. One of the reasons I highly recommend the AlkaViva water ionizers is their leak-proof design.
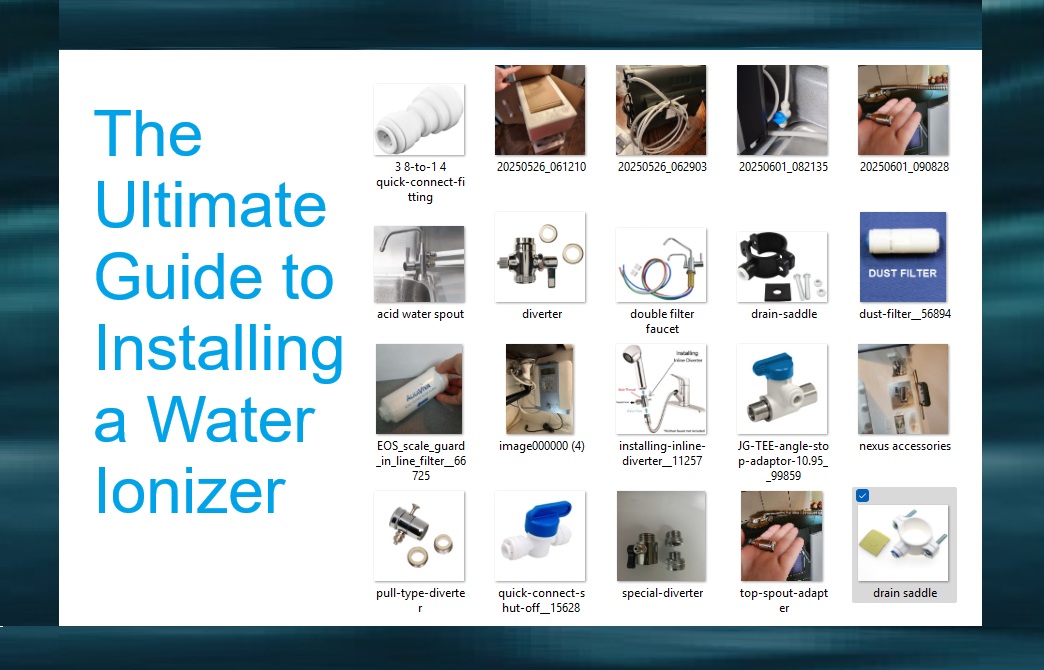
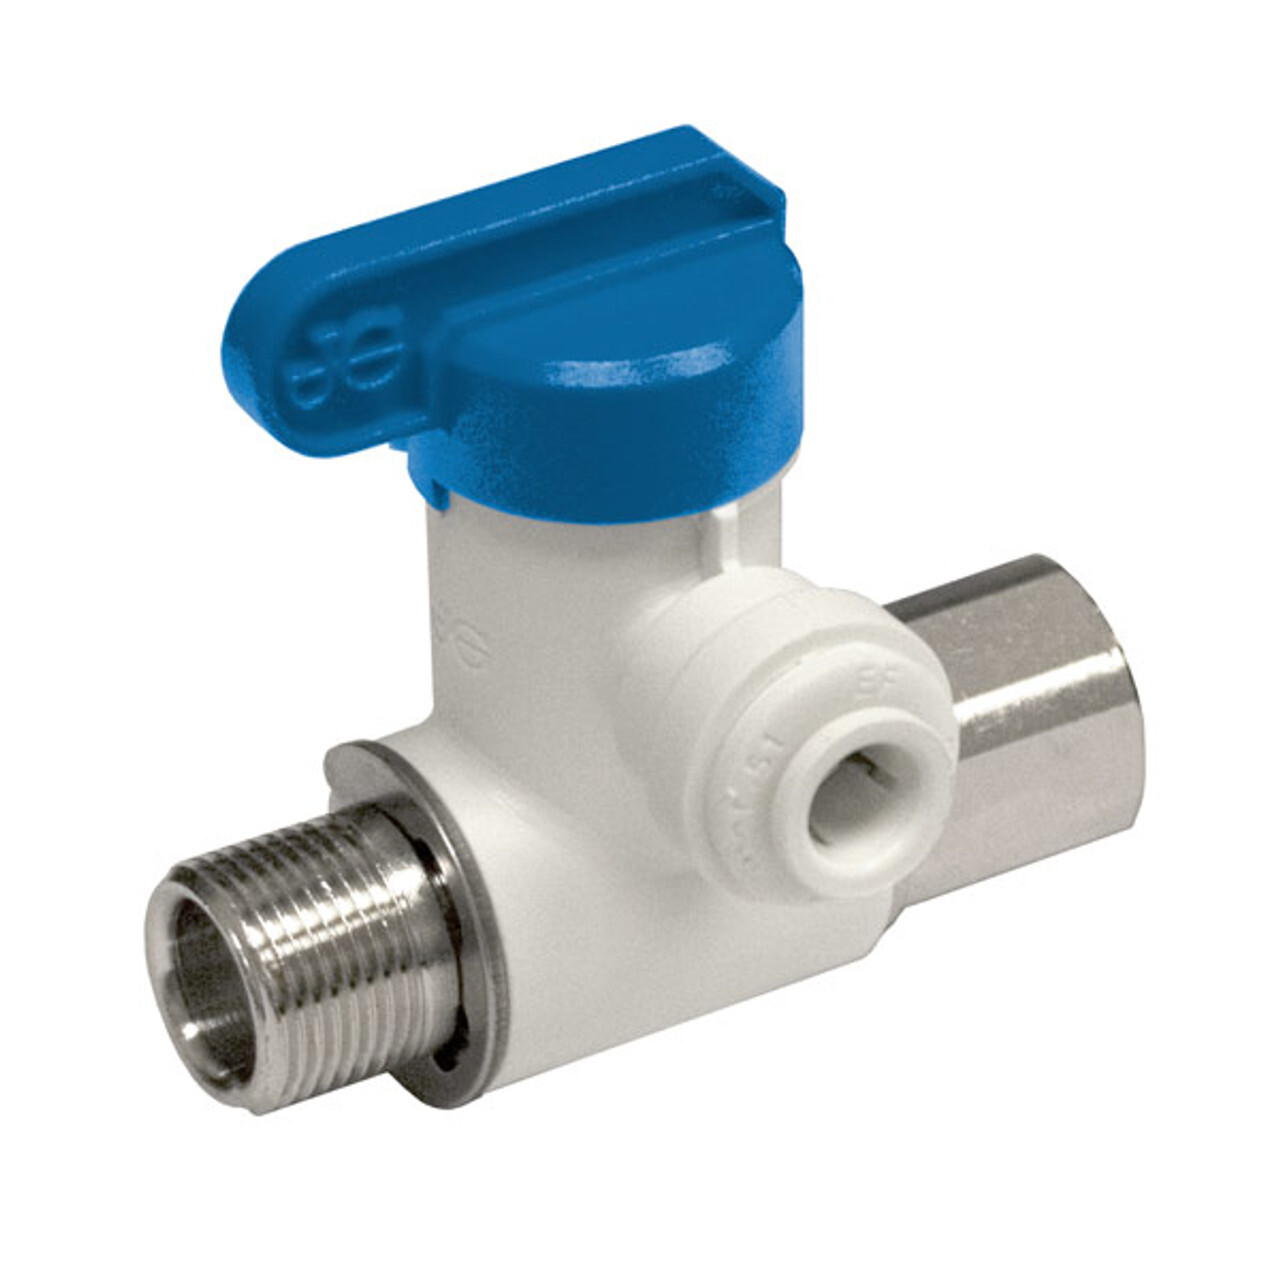
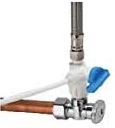
Angle Stop Valve: When hooking directly to the plumbing, one must first install an angle stop valve (also known as a Tee) onto the cold water line. [Note: The water supply should stay shut off until the machine is hooked up and ready to go.] Installing a Tee doesn't require a special plumber's tape or tools, so many do this themselves. Just shut off the cold water, unhook the cold water faucet feed line, and screw this valve into the openings. Tighten it enough so that it doesn't leak, but don't over-tighten. The angle stop valve has a 1/4-inch quick-connect opening. Push the water feed hose into it well enough to seat it. Then, the other end of the hose would, of course, be connected to the machine.
One nice feature of this valve is that you can adjust the flow by turning the blue flow valve to a position between full on and off. This method regulates the water flow rate to prevent damage to the water ionizer from excessive incoming water pressure.
Feeding the 1/4" Water Feed Line to the Countertop Water Ionizer:
With a direct connection to the plumbing, you need to find a way to get water to your countertop to feed the water ionizer. There are several ways to do this.
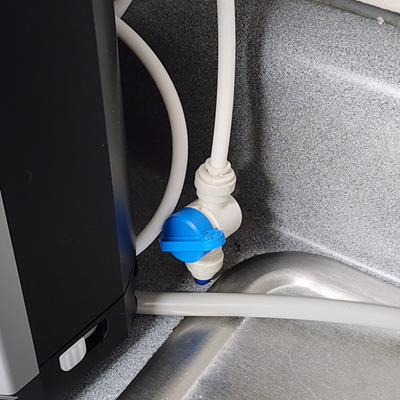
Drill Hole: If you're handy and have the right tool, drill a 1/4" hole in the countertop close to the rear corner of the sink. Or hire someone to do it. Don't worry if you decide later that you don't need the hole; just plug it up. Installing the water ionizer through a small, customized hole like this is an innovative and tidy way to do so. It makes the hose barely visible and out of the way. It also reduces the number of steps required to pour ionized water. I simply turn the machine on or off using the flow valve on the front of the water ionizer. This isn't necessary, but I also have a quick-connect shut-off installed directly at the counter surface, allowing for more flexibility.
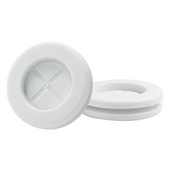
Using the Pre-Drilled Hole in a Sink: Another way to utilize the pre-drilled hole in a sink (originally intended for a soap dish dispenser) is to insert a correctly sized metal, silicone, or rubber grommet to seal it. A grommet allows you to pull the 1/4" hose through while still covering the hole.
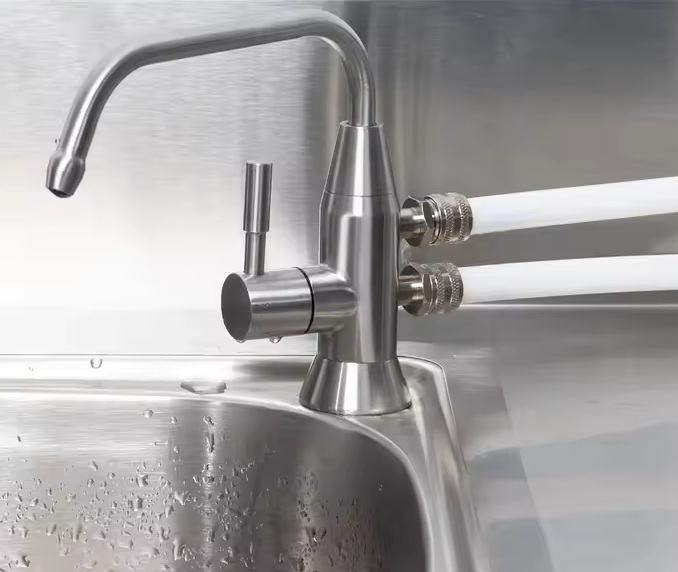
Tiny Wastewater Faucet: Another way to utilize the pre-drilled hole in a sink (originally intended for a soap dish dispenser) is to insert a specialty faucet in that spot. This setup uses a small, acidic wastewater faucet that connects the input water hose to the machine and the output acidic water to this faucet. The acidic water is not suitable for drinking, so it is directed to this faucet, which can be used for other purposes, such as cleaning or watering plants. In this case, the alkaline ionized drinking water comes out of the top spout of the water ionizer as it usually does. All you do is turn on/off the water ionizer with the knob at this faucet making it super easy to use. This method also tidies up the water feed and acidic waste lines, making them look more professionally installed.
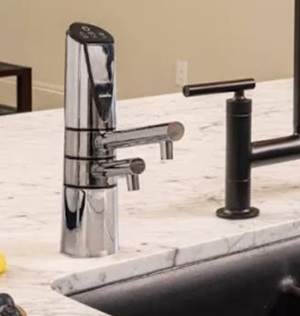
3. Under Sink Installation:
The under-sink installation method offers a high level of flexibility and space on your counter. The best method for under-sink installation is to install the Delphi H2 Under Sink Water Ionizer and follow the installation instructions carefully. This way, you would have all the functions of the water ionizer at your fingertips.
Installing Other Water Ionizers Under the Sink: If you want to install a different water ionizer under the sink, there are ways to do it; however, you should only use the AlkaViva H2 Series. Other brands may develop leaks if they have to endure the pressure of under-sink installation for an extended period. However, with the AlkaViva H2 Series, you can be confident in the safety and reliability of your under-sink installation.
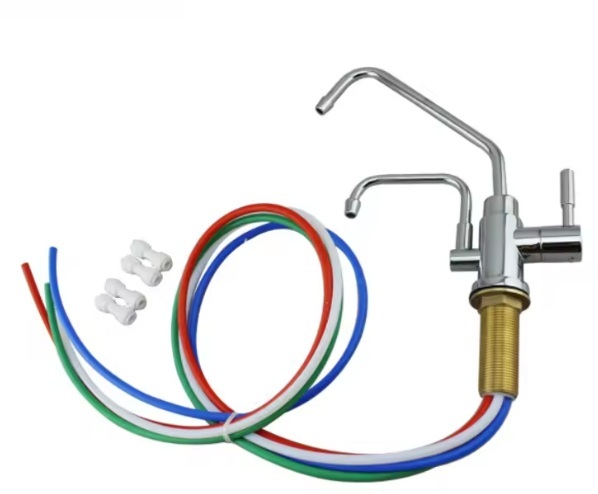
Using a Double Filter Faucet: A double filter faucet is a convenient way to deliver both alkaline and acidic water to the sink. I only see one availability of this double faucet. (Note: most ionizers would use the 1/4" option). To adapt your AlkaViva H2 water ionizer to use this faucet, you would need the correct connection fittings for the machine: 1) a reducer fitting for the acidic water port and 2) the special alkaline spout adapter.
Standard Filter Faucets: Some customers are not concerned about acidic water and prefer to divert it directly to the waste line. In this case, you can install the AlkaViva H2 machine under the sink, and instead of hooking the acidic hose to the double-faucet, as above, you can install a Drain Saddle attached to your waste line.
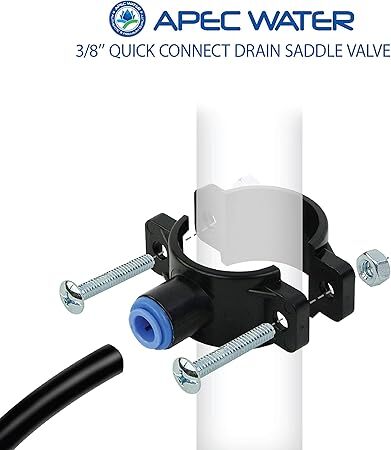
This method allows you to dispense alkaline ionized water through a filter faucet of your choice at the sink and direct the acidic water down the drain. Caution is suggested whenever you remove the acidic hose from the saddle (i.e., Pouring water into containers outside your direct line of vision may leak.)
Suggested Additional Reading
Watch Podcast Here

